

Planting salad greens in a planter turns a balcony, windowsill, patio corner, or bright kitchen ledge into a small edible patch with surprising personality. For a beginner, the appeal is simple: salad leaves grow fast, need modest space, and forgive many early mistakes when the container, soil, water, and light are chosen with care. A single salad greens planter can hold lettuce, arugula, mâche, spinach, or baby kale, creating a living bowl of crisp leaves that can be harvested little by little instead of bought in plastic bags. The secret is not complicated technique; it is calm repetition. Choose a container with drainage, fill it with light nutritious potting mix, sow or tuck in young plants, keep the soil evenly moist, and harvest the outer leaves before they become tough. This is beginner gardening at its most satisfying: practical, visible, and quick enough to keep motivation alive.


Choosing the Right Salad Greens Planter and Simple Beginner Gardening Tools
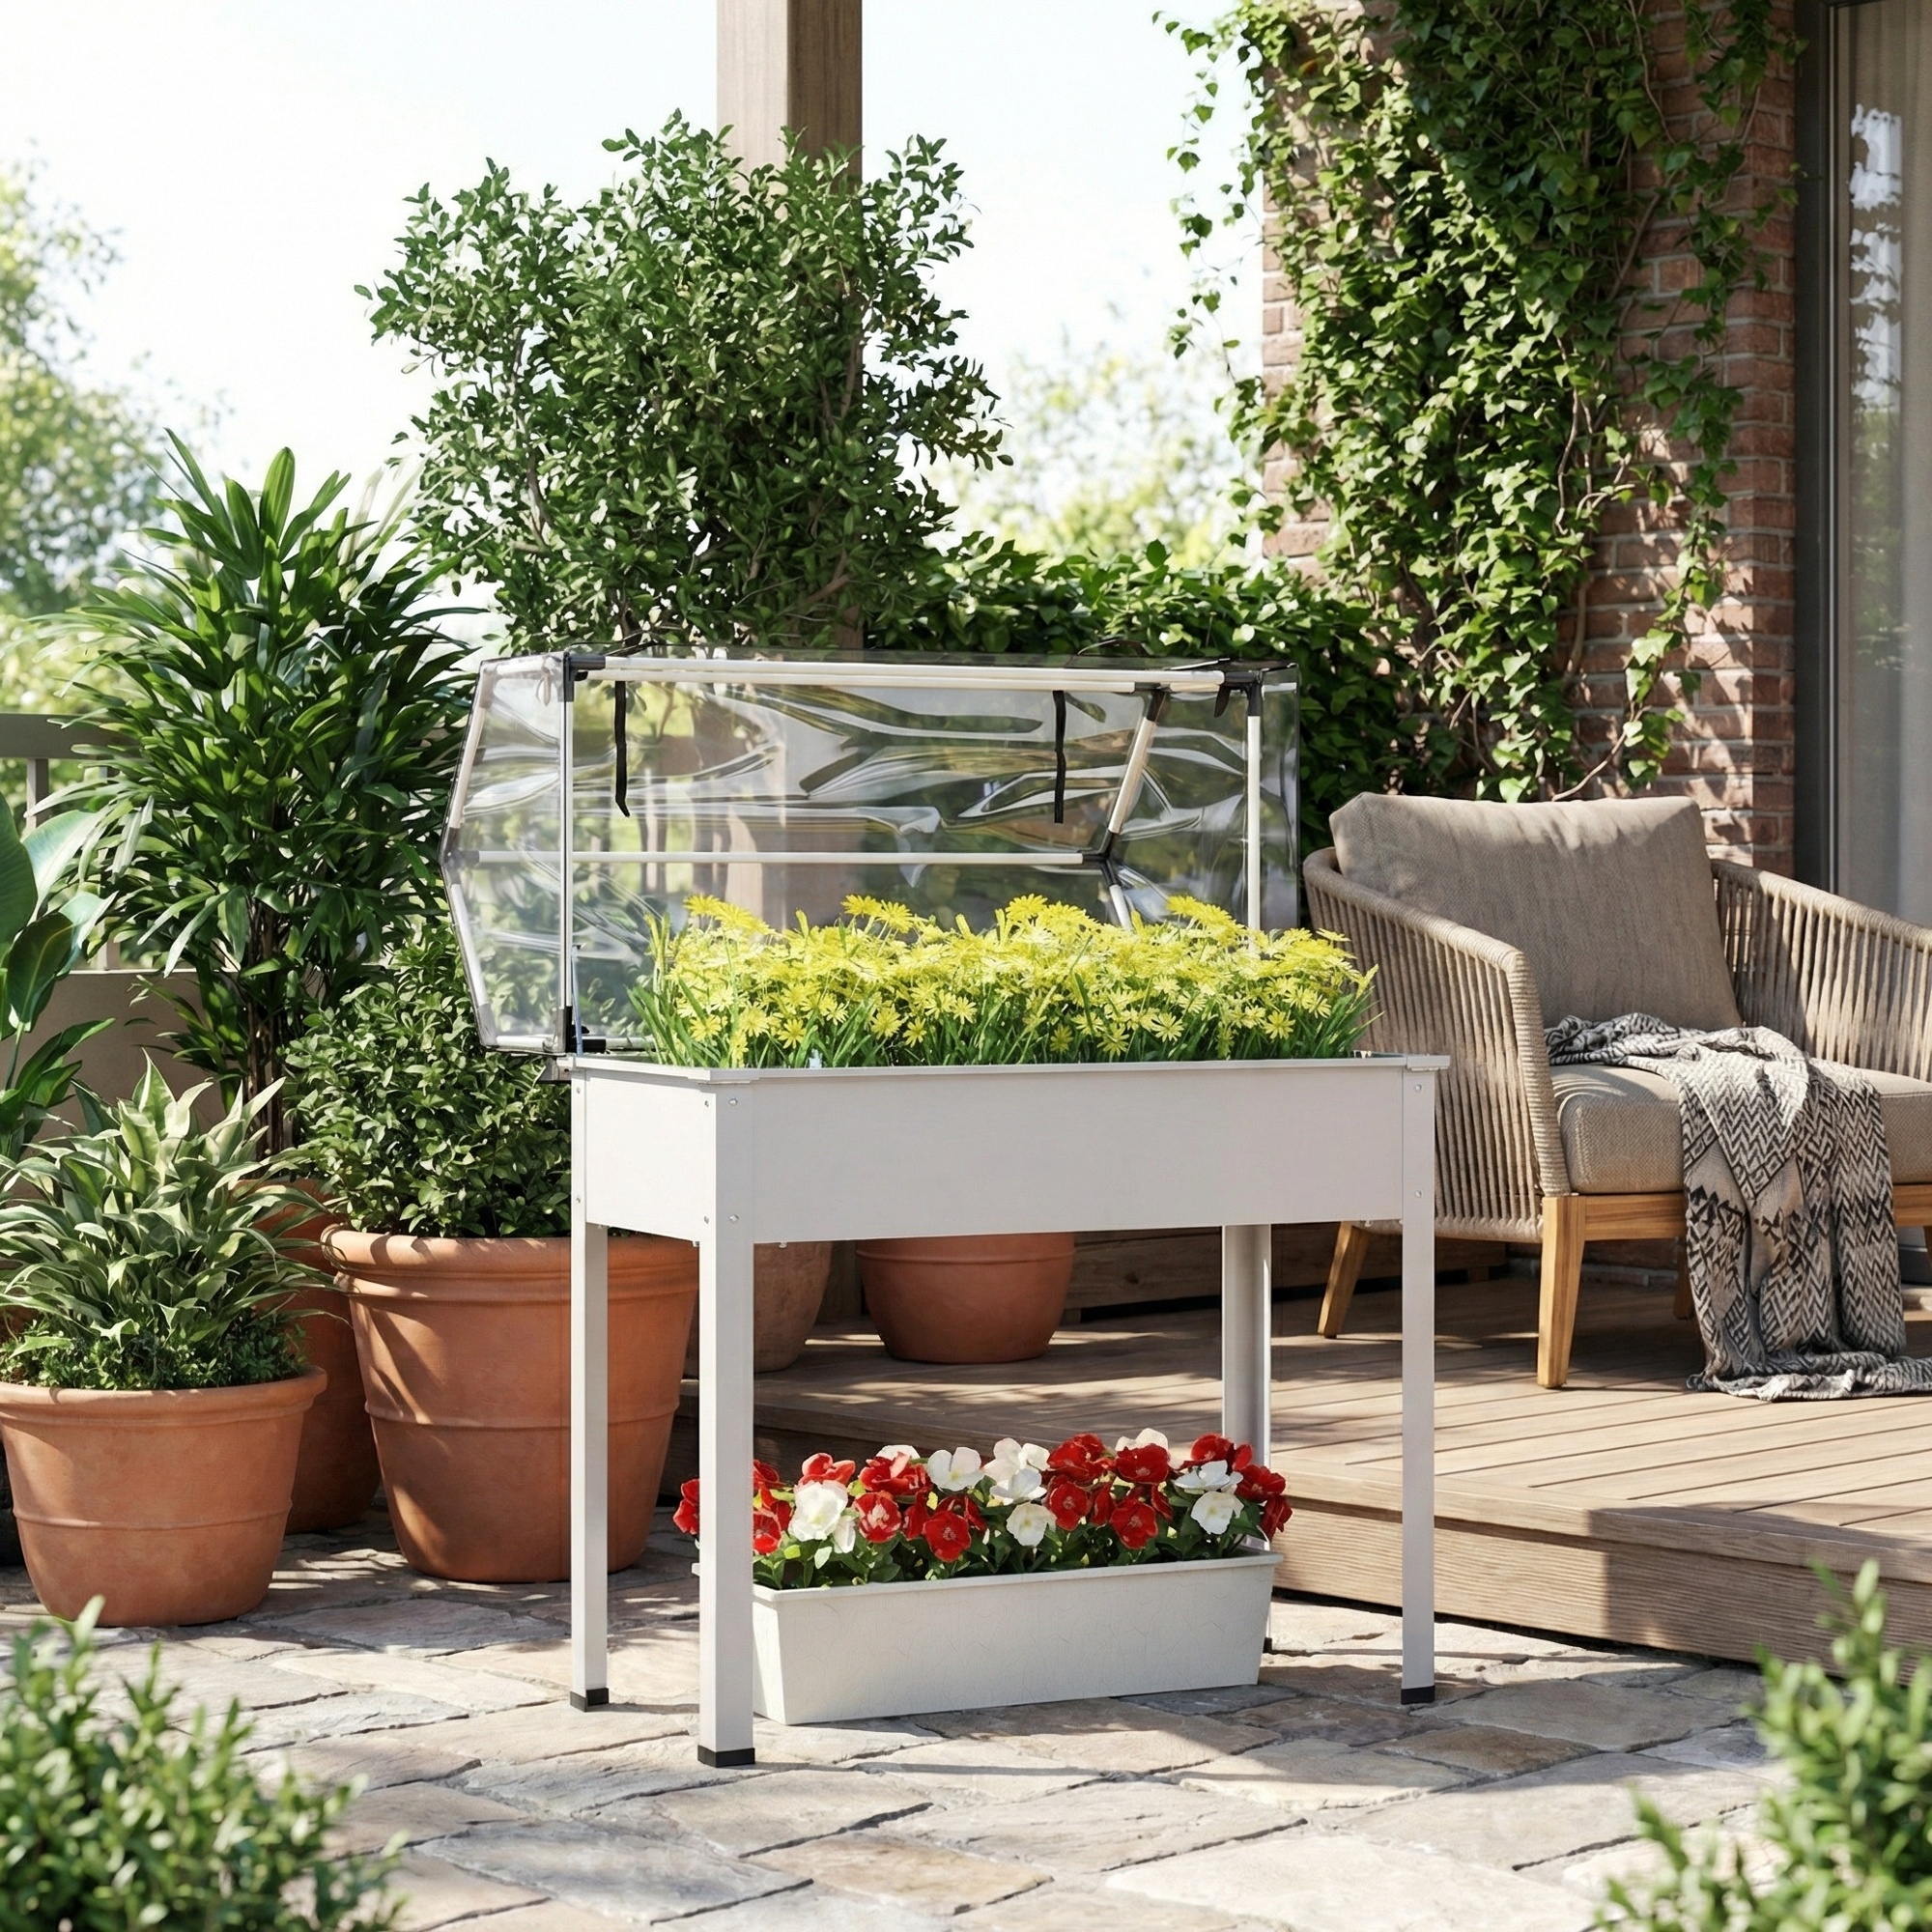
The first decision in container gardening is the planter itself. Salad leaves do not need a deep vegetable bed, but they do need enough root space to stay cool, hydrated, and steady. A container about 6 inches deep can work for loose-leaf lettuce and arugula, while 8 to 12 inches gives beginners more room for error because the soil dries more slowly. This matters on balconies, where wind, sun, and concrete surfaces can turn a shallow pot into a warm pan by midafternoon.
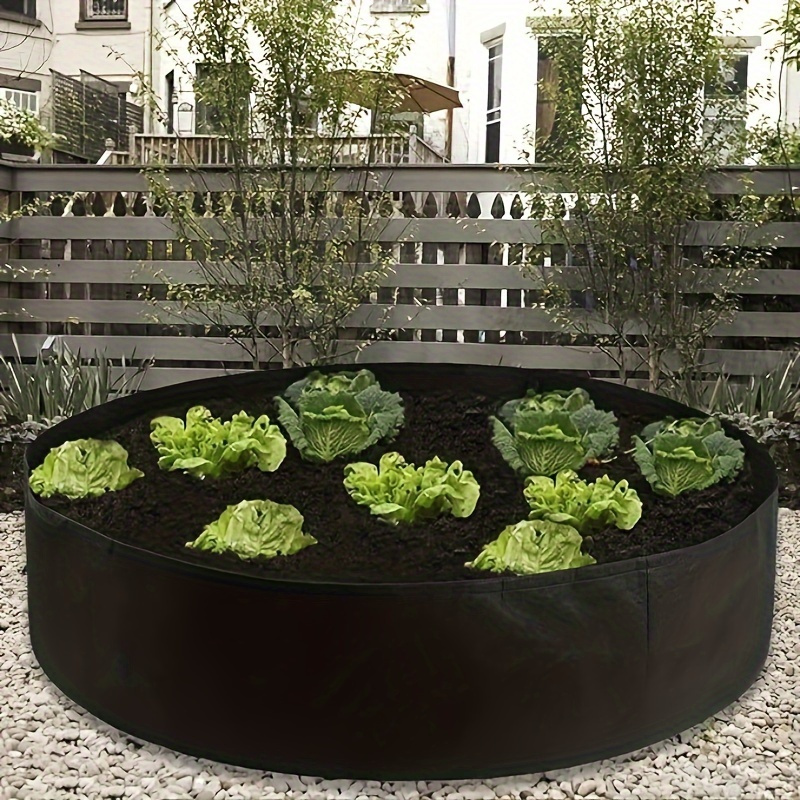
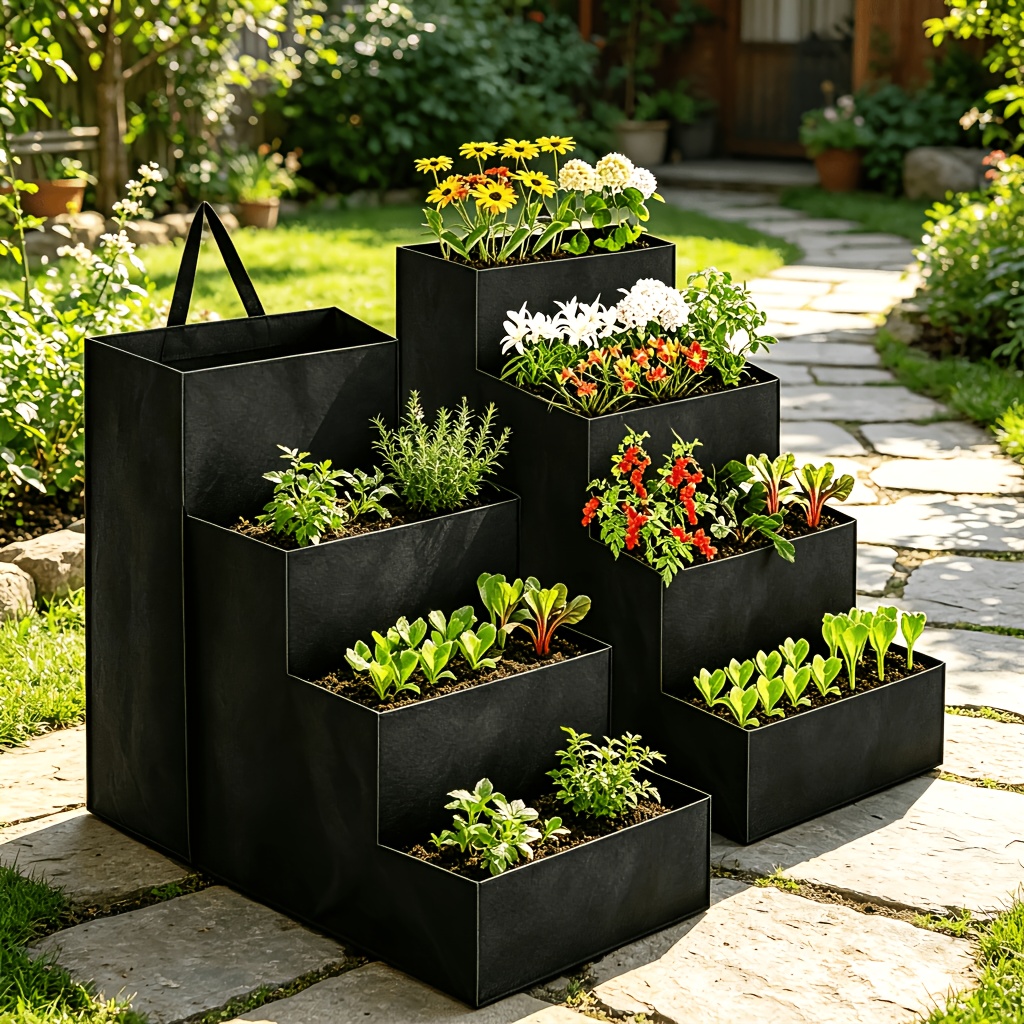
Material also changes the rhythm of care. Plastic planters are light and hold moisture well, which helps anyone who cannot water twice a day. Terracotta looks beautiful and rustic, but it breathes through its walls and dries quickly. Fabric grow bags are especially friendly for urban gardening because they are lightweight, easy to move, and allow air to reach the roots. Whatever the style, the base must have drainage holes. Without them, excess water sits around the roots, oxygen disappears, and healthy leaves can collapse into yellow, tired growth.
Planter soil preparation for healthy roots
Planter soil preparation is where many first attempts are won or lost. Garden soil may look natural, but inside a pot it often becomes heavy and compact. A better choice is a potting mix made for vegetables or containers, with a loose texture that holds moisture while still letting water pass through. Compost or worm castings add gentle nutrition, especially nitrogen, which leafy crops use to create tender green growth.
If the planter has large holes, a coffee filter, a piece of burlap, or a thin layer of gravel can help stop soil from washing out. Clay pebbles or small stones at the base may improve drainage when the container is deep enough, but they do not replace holes. Leave about an inch of space below the rim when filling the pot, so watering does not send soil spilling over the edge.
The tool kit can stay humble: a small hand trowel, gloves, a watering can with a fine rose, and a spray bottle for newly sown seeds. Beginners who want a low-cost setup can explore an affordable urban gardener starter kit before buying too much. The best first planter is not the fanciest one; it is the one that drains, fits the space, and makes daily care feel easy.
Once the planter feels ready, the next choice is deliciously personal: which leaves should fill it, and should they begin as seeds or small plants?
Planting Salad Greens from Seeds or Young Plants in a Container
Growing salad greens begins with choosing varieties that match both taste and patience. Loose-leaf lettuce is one of the easiest options because it does not need to form a tight head before harvest. Arugula grows quickly and brings a peppery flavor. Mâche, also called corn salad, prefers cooler conditions and offers soft, nutty leaves. Spinach, baby kale, mustard greens, and Swiss chard can also work in pots when spacing and watering are handled gently.
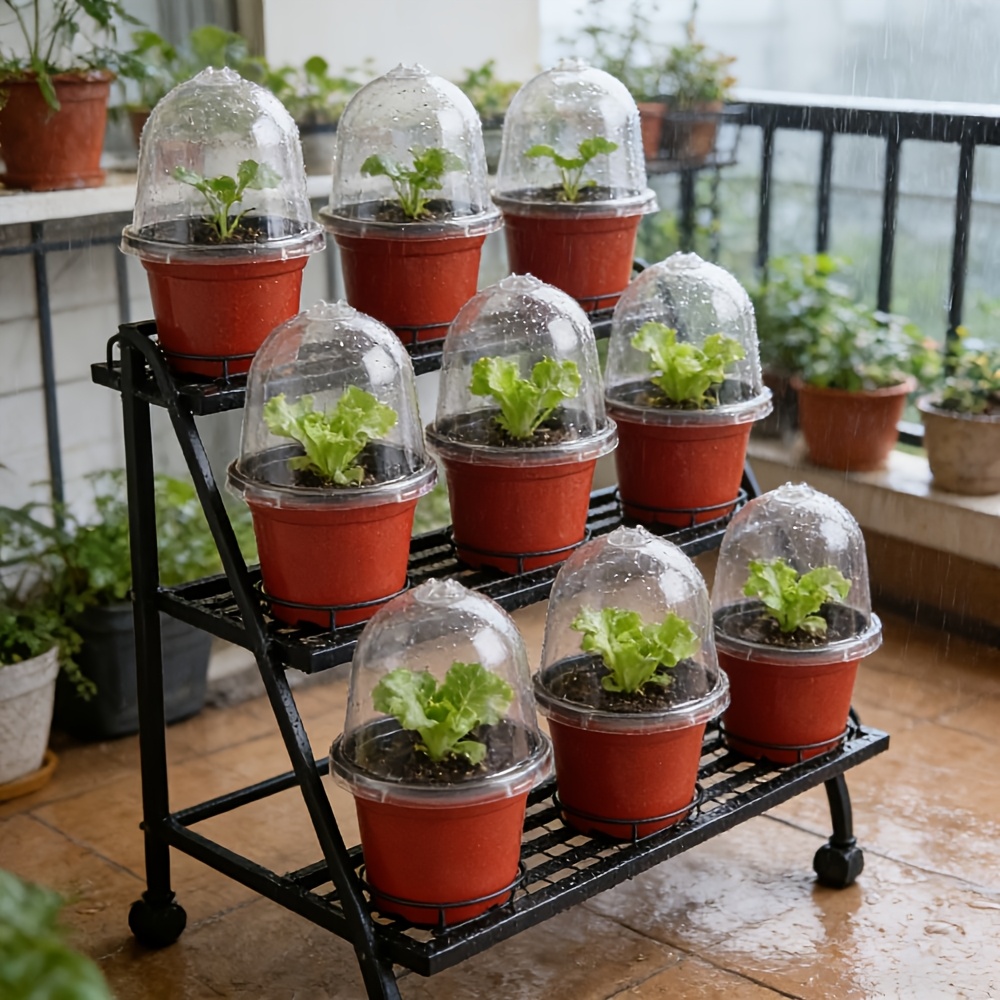
Organic seeds from a reliable source are worth considering because they are often selected for food gardening rather than decorative planting. The packet should show sowing depth, spacing, and ideal season. For anyone who wants a faster start, nursery seedlings are a comforting shortcut. Young plants skip the uncertain first days of germination and can make a beginner feel successful almost immediately.
How to sow easy salad greens evenly
For seeds, begin by moistening the potting mix before sowing. Damp soil settles more evenly and prevents tiny seeds from being pushed too deep. Scatter the seeds lightly across the surface, aiming for a thin sprinkle rather than a thick carpet. If every seed is crowded against its neighbor, the young shoots will compete for light and air, and later thinning becomes stressful.
Most small salad seeds need only a light covering, often about a quarter inch of fine potting mix. Some very tiny seeds prefer barely being covered, so the packet remains the best guide. After sowing, use a spray bottle or a very gentle watering can. A strong stream can move seeds into clumps, leaving bare patches on one side and a tiny jungle on the other.
How to plant seedlings without shocking them
For young plants, dig a hole slightly larger than the root ball. Slide the plant from its nursery pot without pulling the stem, then loosen the bottom roots only if they are tightly circling. Place it so the top of the root ball sits level with the surrounding soil. Press the mix gently around it to remove air pockets, then water slowly until moisture drains from the bottom.
A small story from many city balconies repeats itself: a beginner buys six lettuce plugs, squeezes them into a narrow trough, and wonders why they stop growing. The reason is not bad luck; it is crowding. Leaves need airflow as much as they need water. Giving each plant a hand-width of room helps prevent mildew and makes harvesting easier.
For more inspiration on crops that behave well in tight spaces, urban container vegetable ideas can help beginners think beyond lettuce while keeping the same simple principles. Seeds bring variety and savings; seedlings bring speed and confidence. Both lead to the same reward when handled with a light hand.
After planting, the planter becomes a small living system. The leaves will respond quickly to water, light, spacing, and daily attention.
Salad Greens Care: Watering, Light, Thinning, and Daily Maintenance
Salad greens care is mostly about balance. The soil should stay moist like a wrung-out sponge, never dusty dry and never swampy. A simple finger test works better than guessing: press a finger about one inch into the mix. If it feels dry, water deeply until the excess runs from the drainage holes. If it still feels cool and damp, wait.
Morning is usually the best time to water because the leaves have the whole day to dry if any moisture splashes upward. This reduces the risk of fungal problems such as powdery mildew. Newly sown seeds appreciate misting from a spray bottle, while established plants prefer water aimed at the soil near the base. Too much water is one of the classic garden tips beginners need to hear early: kindness with a watering can can become trouble if the roots never breathe.
Light conditions for a productive salad greens planter
Most leafy crops enjoy 4 to 6 hours of sunlight daily. Morning sun is ideal because it is bright but not harsh. On a hot balcony, afternoon shade can prevent bolting, which happens when a plant stops focusing on leaves and rushes to make flowers and seeds. Once bolting begins, the leaves often turn bitter and stiff.
Indoors, place the planter near a bright window and rotate it every few days so the seedlings do not lean dramatically toward the glass. Fresh air matters too. If the planter sits in a kitchen or enclosed room, regular ventilation helps prevent damp, stagnant conditions. Avoid cold drafts, especially near doors that open onto winter air, because sudden chills can slow growth or bruise tender leaves.
Thinning and preventing common pests
Thinning means removing extra seedlings so the strongest ones have space. It can feel cruel, but it is actually generosity. When seedlings reach a couple of inches tall, snip the weakest at soil level with small scissors instead of pulling them, which may disturb nearby roots. Baby thinnings can be eaten as micro-salad, turning a necessary task into a tiny harvest.
Aphids, whiteflies, slugs, and mildew are the usual small dramas. Healthy spacing, clean fallen leaves, and watering the soil rather than the foliage solve many problems before they begin. If aphids appear, a firm spray of water can dislodge them. Chives or basil nearby may also help confuse pests, while adding flavor to the balcony harvest. Those curious about even smaller edible crops can compare techniques with microgreens in limited urban spaces, where moisture and airflow are just as important.
The daily ritual is short: check moisture, observe leaf color, look under a few leaves, and adjust light if the weather changes. The planter does not need fussing; it needs attention that is calm, regular, and precise.
With steady care, the moment arrives when the planter stops looking like a project and starts looking like lunch.
Harvesting Easy Salad Greens and Avoiding Beginner Mistakes
Easy salad greens are ready sooner than many beginners expect. Arugula can often be picked in about 3 to 4 weeks, while loose-leaf lettuce commonly reaches its first useful harvest around 4 to 6 weeks after sowing. The right moment is not only about size. Leaves should look fresh, flexible, and tender. If they become leathery, tall, or sharply bitter, the plant may be stressed by heat, age, or irregular watering.
The most productive method is called cut-and-come-again. Instead of pulling the whole plant, harvest the outer leaves with clean scissors, leaving the central growing point untouched. This keeps the plant alive and encourages new leaves to form from the middle. A planter treated this way can provide several rounds of picking, especially in mild weather.
How to cut for regrowth and better flavor
Morning harvesting gives the crispest texture because the plants are hydrated after the cooler night. Cut only what will be eaten soon, then rinse the leaves in cold water and dry them well. Excess water in storage makes greens wilt faster, so a salad spinner or clean towel is useful. Leaves stored loosely with a dry paper towel in a container can stay fresh longer than a wet bunch pressed into a bag.
After several harvests, the planter may slow down. That is normal. Nutrients decline, roots fill the space, and older plants lose energy. A thin top layer of compost or worm castings can refresh the mix, but eventually replanting is the cleanest solution. Sowing a small new patch every 2 or 3 weeks creates continuity, so the balcony never falls completely silent between harvests.
Common beginner errors that are easy to fix
Overwatering remains the most common mistake. Yellow leaves, sour-smelling soil, and weak stems often point to waterlogged roots. The fix is simple: check drainage, let the top inch dry slightly, and water only when needed. Another common issue is poor light. A planter in deep shade may sprout, but it will stretch into pale, fragile growth instead of forming compact leaves.
Cold drafts can also surprise indoor gardeners. Salad crops like cool weather, but they dislike sudden blasts of freezing air. On the opposite side, intense heat can trigger bolting. Moving the planter into afternoon shade, using a light shade cloth, or choosing heat-tolerant varieties can extend the harvest.
Rotation helps after multiple crops. Instead of growing the same leaves in exhausted soil forever, refresh part of the mix and alternate with herbs, radishes, or another small edible crop. This habit keeps the miniature ecosystem lively. The deepest lesson is reassuring: a salad planter is not a test of perfection. It is a small, edible conversation between light, water, soil, and patience.


